Little Man
My Hubby loves ties.
Which is great for me because that is what he will be getting for the next 10 Father's Days!
Kidding!
Sort of.
But it was definitely the present of choice this year for Father's Day.
Only I wanted to make it extra special because we have our little guy joining us later this year!
It took me longer than planned to make this tie, mostly because our home was in dissarray due to packing, and I had to clean up an area to work on.
Then put all the mess back before he got home so he wouldn't be suspicious.
I know I know... The word Crazy has floated around my head after reading that... however it's true.
And it was less hassle than actually packing.
I wanted it to be a total surprise!
And I wanted them to have matching ties!
Finding a baby tie tutorial on the internet?
Piece. Of. Cake.
Finding a man size tie?
Way way less easy.
As in the options were skinny tie (which doesn't really float our boats) or some crazy ridiculously complicated patterns that cost money.
Hubby is fairly particular about his ties.
I was not going to go through all that effort and not have it instantly become his favorite tie ever!
And then I found Hideous Dreadful Stinky! Solution found.
Thank you Marigold, author of that blog, for posting this wonderful tutorial on how to turn a Man's Tie into a Baby Tie.
You Rock.
I went to Target and got two inexpensive ties. One that could be mildly altered for Hubby. And one that I could rip apart and resew for baby!
Now we were talking!
Hubby's favorite movie lately has been Captain America. So I decided to make them subtly themed Captain America ties. Red white and blue with a little star tribute to the Captain.
I gathered my supplies.


This part was a breeze.
Don't stress if your lines are not exact on this part. There is absolutely no way to tell on the finished product.


The tricky hard part was then turning it right side out!
It took me a good bit of time.
But the sturdiness was worth the hassle.
Use a pair of clean tweezers to pull the fabric through.
I figured that out about half way through and it saved my sanity.


Which is great for me because that is what he will be getting for the next 10 Father's Days!
Kidding!
Sort of.
But it was definitely the present of choice this year for Father's Day.
Only I wanted to make it extra special because we have our little guy joining us later this year!
It took me longer than planned to make this tie, mostly because our home was in dissarray due to packing, and I had to clean up an area to work on.
Then put all the mess back before he got home so he wouldn't be suspicious.
I know I know... The word Crazy has floated around my head after reading that... however it's true.
And it was less hassle than actually packing.
I wanted it to be a total surprise!
And I wanted them to have matching ties!
Finding a baby tie tutorial on the internet?
Piece. Of. Cake.
Finding a man size tie?
Way way less easy.
As in the options were skinny tie (which doesn't really float our boats) or some crazy ridiculously complicated patterns that cost money.
Hubby is fairly particular about his ties.
I was not going to go through all that effort and not have it instantly become his favorite tie ever!
And then I found Hideous Dreadful Stinky! Solution found.
Thank you Marigold, author of that blog, for posting this wonderful tutorial on how to turn a Man's Tie into a Baby Tie.
You Rock.
I went to Target and got two inexpensive ties. One that could be mildly altered for Hubby. And one that I could rip apart and resew for baby!
Now we were talking!
Hubby's favorite movie lately has been Captain America. So I decided to make them subtly themed Captain America ties. Red white and blue with a little star tribute to the Captain.
I gathered my supplies.

And had Marigold's directions handy.

This part was the absolute scariest for me - it's pretty much the first thing you do.
Measure and cut.
It seemed so final.
I hesitated for probably 20 minutes trying to decide what the right length would be.
I finally settled for the same length as in her tutorial. I figured I would adjust the next part so it could be for babies and grow into toddlers, so the length could be a little long for a little dude.
Afterwards it was a breeze to move from step to step.

The next step was to make the knot.
This is where I got excited because mine looked just like hers!
Yay!
I was on the right track!
I had to use a few more pins that she did.
I later discovered that my iron was not on a hot enough setting.
So make sure you check your iron. I bet it would be easier!

Don't stress if your lines are not exact on this part. There is absolutely no way to tell on the finished product.

This part was a little tricky. I don't have a lot of experience with basting or gathering.
It took two tries.
Definitely worth the second try.


This part I did by hand. If you don't have a thimble, get one.
Your thumbs will thank you.


Next it was time for the neck part of this neck tie.
Marigold has an option in her tutorial that uses elastic and would probably be a super quick finish.
Or she has also provided an alternative option using velcro at Crafting with My Cubs.
I elected for the alternative option. So I went over to the next site.
I couldn't really tell how much of the long skinny part of the tie I would need to use for the neck part, because the measurements are specified, and I didn't already have a baby tie to compare it with.
So I pretended to put it around one of the baby outfits that I have, to get an idea of a neck size.
Then I gave it a little extra and decided to make the velcro bit extra long so that it would be very adjustable.
It was pretty easy to sew following the directions.

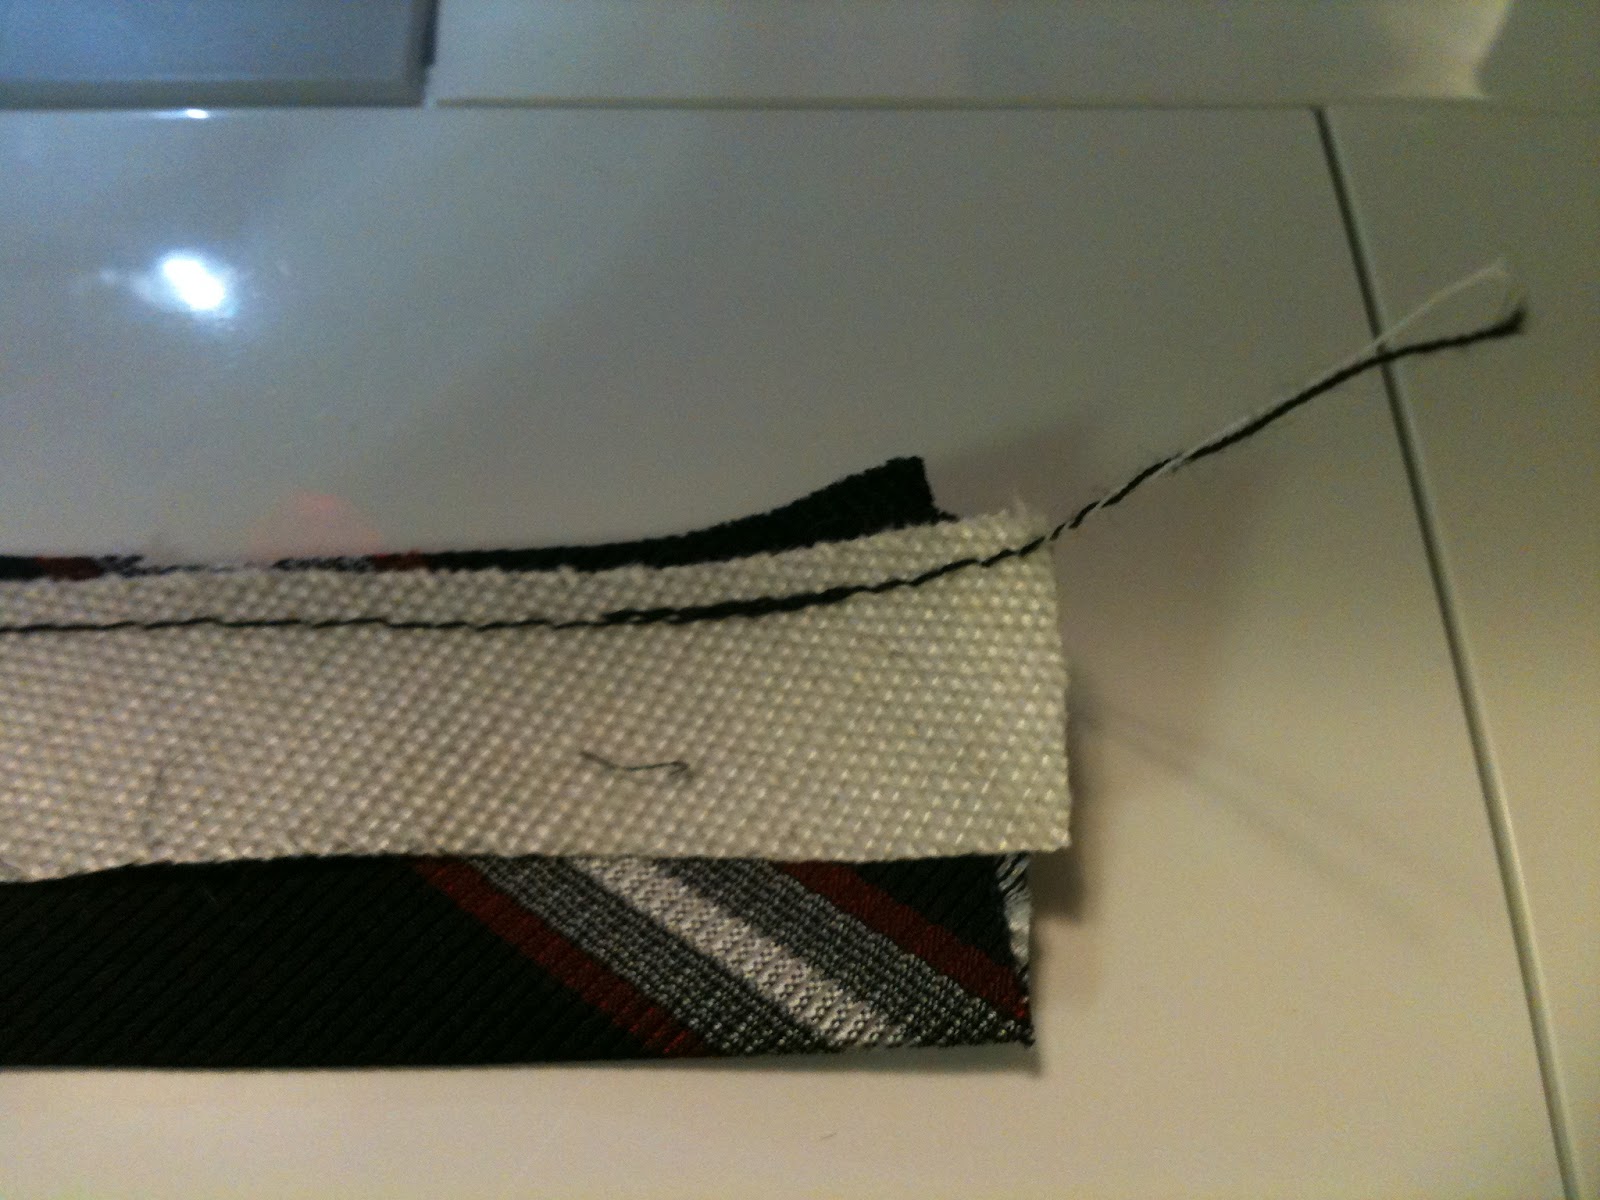
The tricky hard part was then turning it right side out!
It took me a good bit of time.
But the sturdiness was worth the hassle.
Use a pair of clean tweezers to pull the fabric through.
I figured that out about half way through and it saved my sanity.

Press it flat like she says and then iron your velcro on! I used about 2 extra inches than she did because I wanted mine to fit around little baby necks and toddler necks. I also stitched mine down to be extra solid. Boys tend to be rough with their stuff.

I just love how the little guy tie looks just like a miniature version of a big guy tie!


The iron on stars and labels are my own little touch.

I can't wait to see my little man all dressed up like his daddy!


Those are so cute! Way to be crafty :)
ReplyDeleteit must run in the family. I just found your sister in laws blog and she has a shop of baby ties, and does matching ties for her husband and adorable little boy.
ReplyDelete-b