Stars in a Jar
So I
have always loved the idea of solar jars.
Stick some sort of light source, in
some sort of glass jar and it glows.
How cool!
I’ve
seen a lot of different ways to do them, and actually gathered up all my
materials to make one about a year ago.
And
then I got busy with work and life.
And I
didn’t make it.
It
was originally going to be a sun jar! With a cute little saying along the lines
of “you are my sunshine” or “there is sunshine in my soul”.
My
husband teases me that I am somewhat of a solar charged battery myself, as I
get cranky if I go for long periods of time without sunshine.
So
since I have had some time on my hands lately, as I avoid packing and stuff I'm supposed to be doing, I
decided to go ahead and finally make it!
You
need a glass jar – the one I used was a vase I had received flowers in last
year. It is a cool rounded bowl shape. I think Mason jar styles would also look
awesome.
A
solar powered garden light. I got mine at target for about $4. And it has a solar
rechargeable battery.
Fine
grit sandpaper. I used 220 grit.
And
glass frost spray. About $8 at a craft store.
And I
found that some fun tack came in handy.
Do you know, no one seems to call it
fun tack anymore?
Its like, "sticky tack", or "removable wall clay" in stores now.
To me
it will forever be fun tack.

Sand
your jar to scuff up the surface a bit. This helps the frost spray stick. It
doesn’t have to be perfectly sanded all the way around, but if you can get some
of the shiny to go away all over than that will work.

Spray
your frost. I did two coats cause I wanted it to be a little frostier. It took
about 20 minutes to dry in between coats.

Now
to hook up the lighting equipment.
Remove
the stake part of your solar yard light. The rim around the lamp fit my jar
perfectly. If yours doesn’t fit perfect you can maybe wrap a ribbon around it
or as you will see in a minute, fun tack is very useful.
Fun Tack!
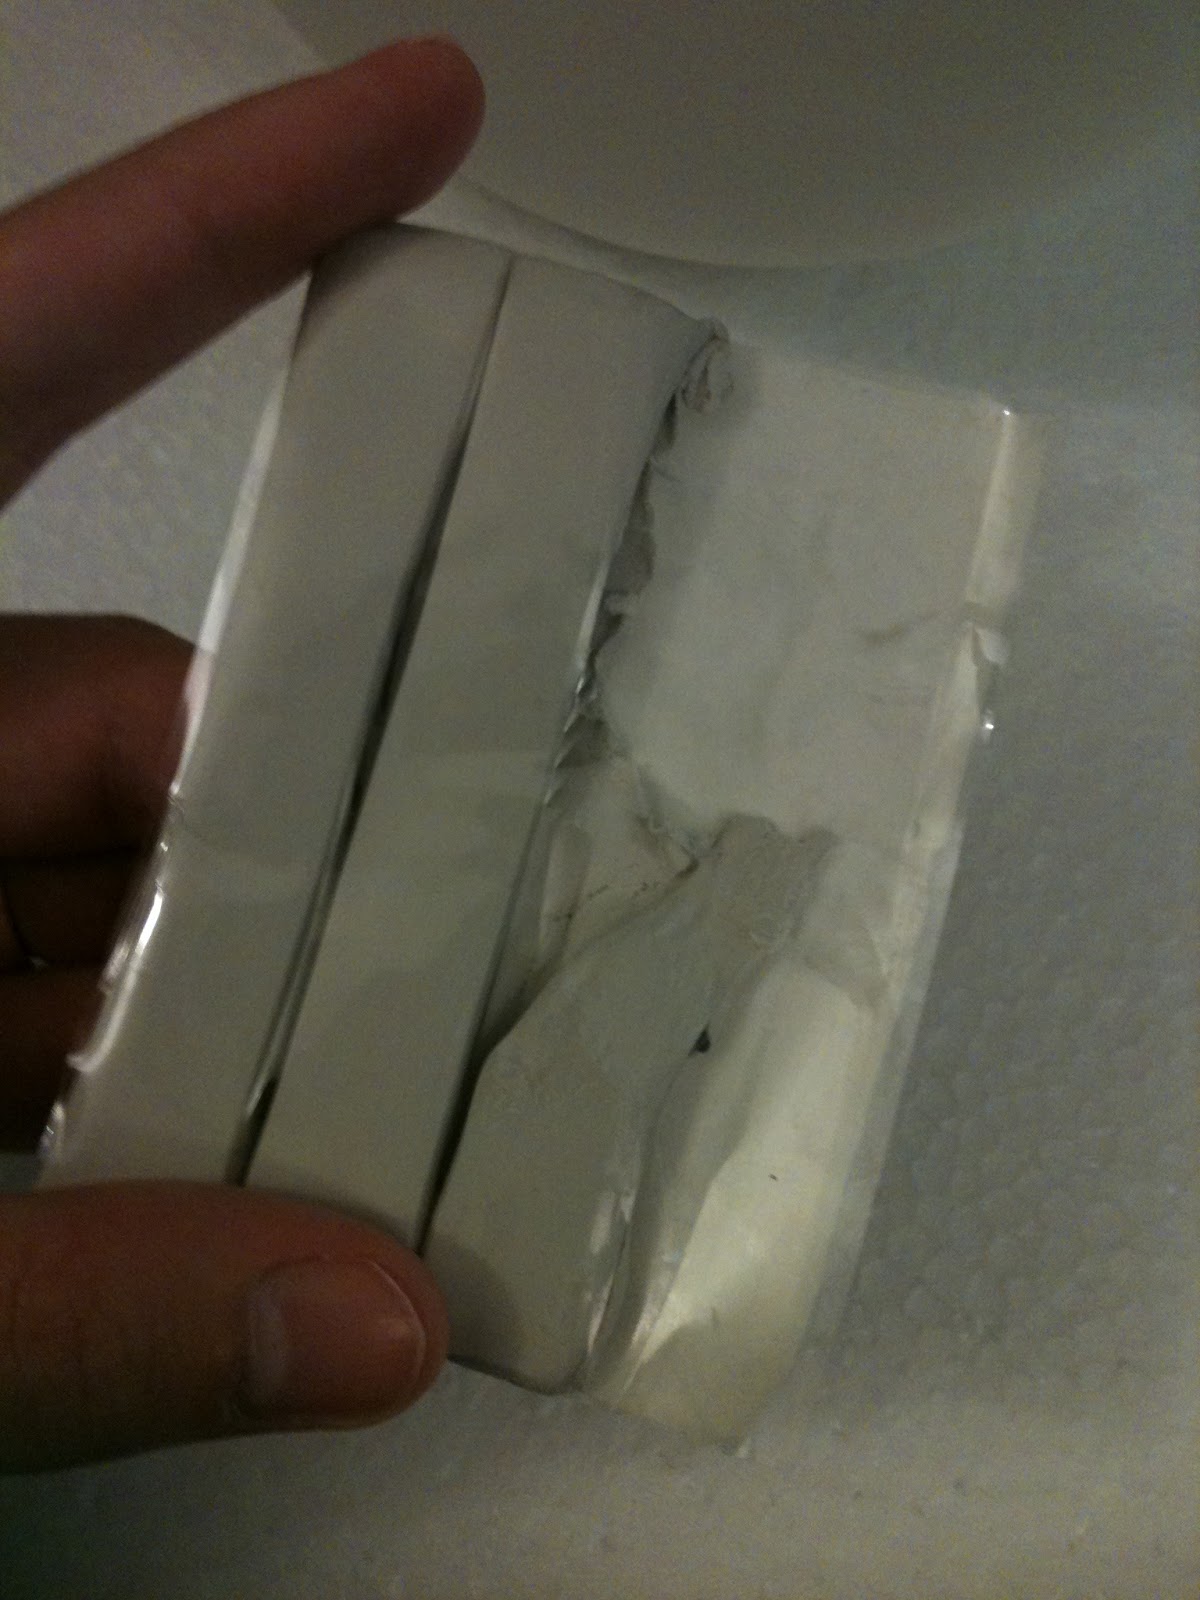
So I
powered the light up and it made stripes...

Not exactly what I had in mind.
So I
found a little screwdriver and separated the clear “light case” part and the
solar powered “lid” charger and light bulb into two separate pieces.

Before

After
Tried
it again.

Much
better.
No
stripes this time.
But
not exactly as bright. I used my screwdriver again and took the little shiny
reflective thing off the bottom of the “light case” part.


Shiny reflective thing.
Since the bottom of
my vase was not perfectly smooth, I used some fun tack to stick it down in an
upright position.


The
“lid” part fit perfectly onto my vase, but I wanted it to be a little sturdier.
So I lined the edges with fun tack and pushed it into the rim.
Firmly attached.

Then
I noticed that the LED color of my light was not very sun like.
It wasn’t a
very warm light.
It was more of a cool light.
Which
made me think of the moon.
Which
made me think of stars.
So I thought to myself, hey! How about instead of a
sun jar, it’s a star jar!
Now that it was officially a Star Jar, I needed to come up with a different saying to go on it. I decided on
“When it is dark enough, you can see the stars.”
by Ralph Waldo Emerson.
(Hubby
liked it too.)
I worked it out on the computer to see how I wanted it to line up.

I had
some scrapbooking letters still around around from something else (though not enough to have the four “e”s I
needed to spell it all out so I got a few extra from the store).

I
loved the way it turned out!
But I
am more of a sun person.
And my kiddo’s nursery is all decorated with stars.
So
I decided it would make a super cute nightlight in his room.
His little jar of
stars.

He’s
not even here yet an I’m giving my stuff to him.


SO cute!! Awesome project!
ReplyDeleteThanks Gentri! :)
ReplyDeleteAwesome mom project! So glad it's genetic - the part about giving our stuff to our kids - hahahhaa
ReplyDeleteLove ya,
mom